Welcome!

Welcome to Wood Nymph Way! I have created this blog with two intentions: (A) keeping our family and friends, many of whom live in lands Far Far Away, up to date with what we've been doing, and (B) as a tool to document and learn from our journey as a Waldorf homeschooling family. Enjoy! And don't forget to check out my resource pages on the right!

Thursday, February 3, 2011

Chinese New Year

Happy New Year!

It has been an insanely busy week full of celebrations, and today was no exception.  Sort of at the last minute (which for me was several days ago, but that doesn't leave much time for making good plans) I decided to go ahead and celebrate Chinese New Year with the kids.  No, we are not Chinese, but it's always fun to borrow traditions.

It is the year of the Rabbit, hence the Happy New Year message my kids found on the blackboard this morning (quickly scribbled before breakfast).  After breakfast, we started the day by hanging strings of little rice paper kites around the dining room, which tends to be the central place for celebrations.  Not exactly New Year's decorations, but a friend of my Dad's brought them back form Hong Kong and the kids were excited to see them strung up.

Then we moved right into making lanterns.  Super easy to make.

Choose two colors of paper.  Fold one in half, and along
the folded edge mark some lines about 3/4" apart.  Cut along
the lines, but be sure to stop where the line does.  This
is great cutting practice for young children.

Roll the second sheet into a cylinder.  Hold the paper
horizontally for this.  Staple, glue, or tape it to keep it closed.
This is the inside of the lantern.

Now staple, glue, or tape the second sheet around the first,
about 3/4" from the top and bottom edges. 

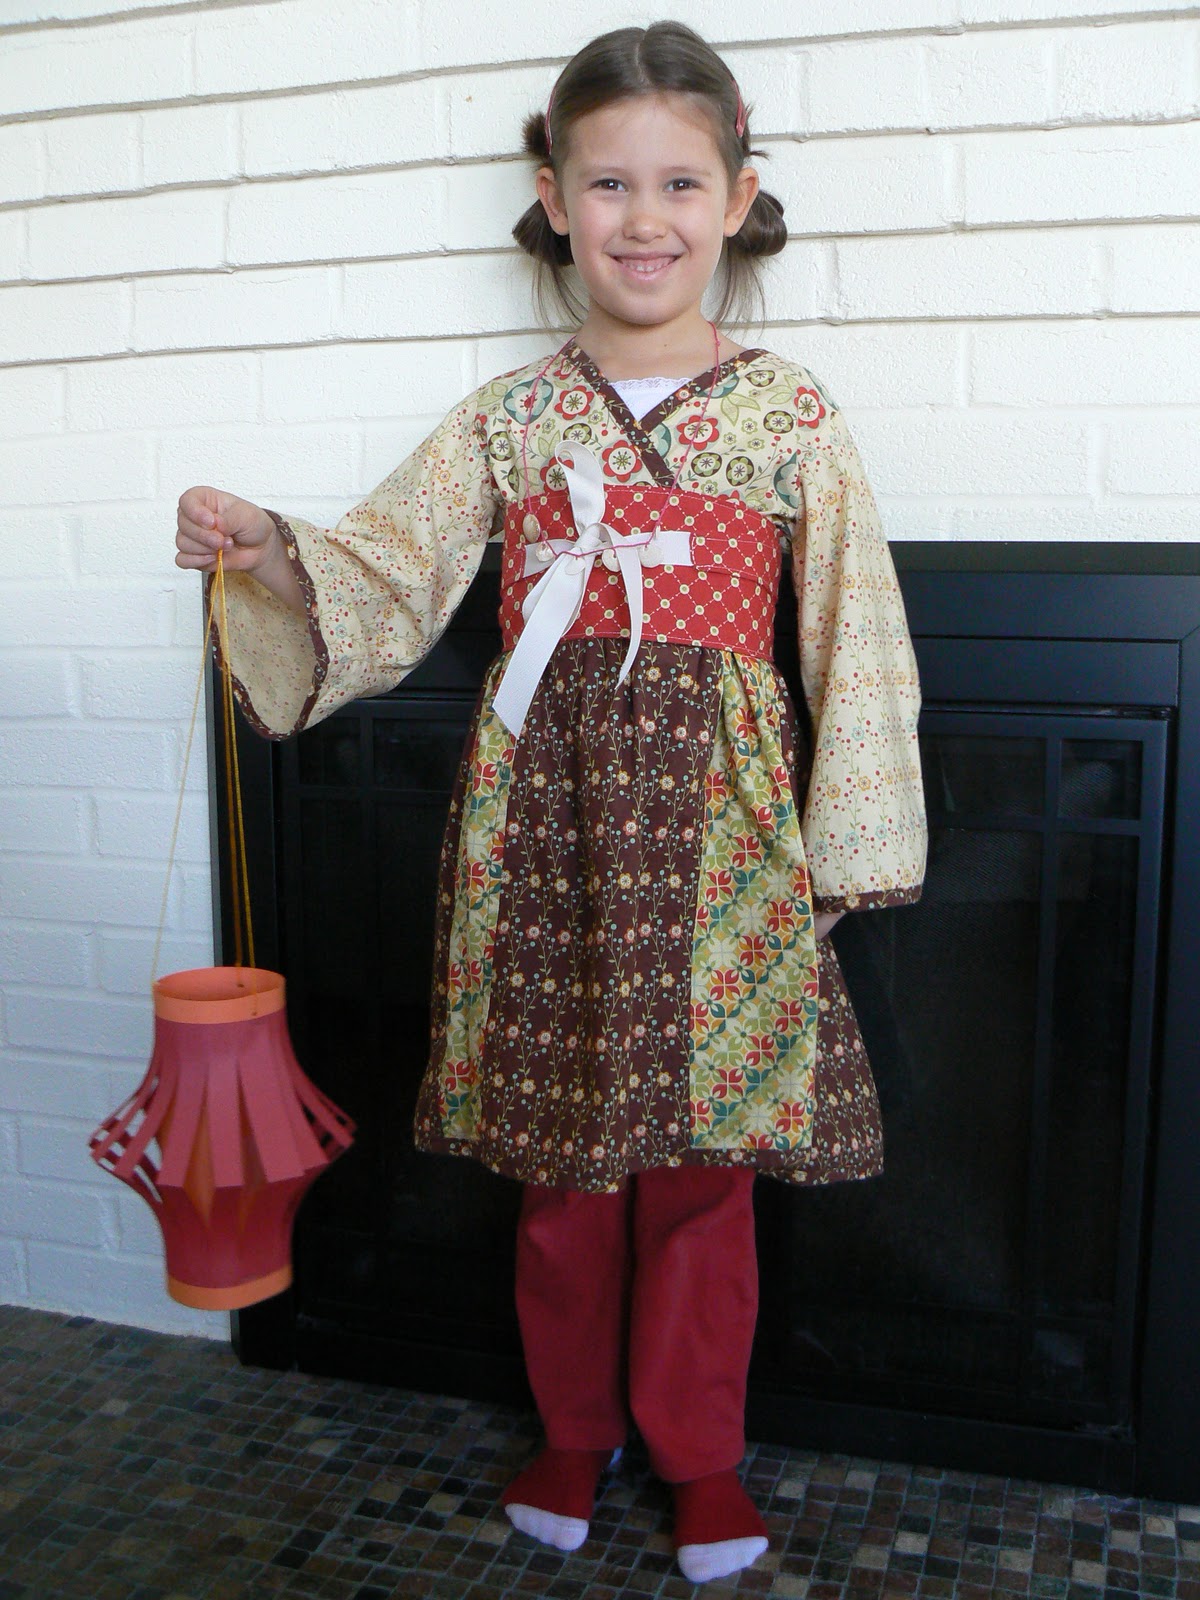
Punch three holes around the top, string it, tie a knot
at the ends of the strings, and parade it around!  It's fun
to make lots of little lanterns and hang them all around, too.

After we finished the lanterns, we read a story from Moonbeams,Dumplings, & Dragon Boats, a wonderful resource for several Chinese holidays.  It's full of stories, activities, and recipes.

We made fresh spring rolls for lunch, which are always a favorite.  It is tradition to eat long noodles on the New Year to ensure a long life.  We just decided to put ours inside yummy, little rolls.  I learned how to make these while working during graduate school at a little restaurant that served food from all over Asia.  Now, I make them for parties or even just as a snack or lunch.  You can put pretty much anything in them you like; tofu, any thinly sliced veggie, noodles, lettuce, herbs.  Here's how we made ours.


Get your fillings ready first.  Veggies should be julliened, noodles cooked,
and herbs washed and chopped.  We use rice vermicelli, cilantro,
scallions, lettuce, and cucumbers in ours.  I usually stick in some tofu,
but we were all out.

Here's teh rice wrapper going into a bowl of warm water.  It
only needs to be in there for a few seconds, just until if softens up,
or it will easily tear.  As you can see, it's really thin and delicate. 
Once you get it back out of the bowl, spread it on a clean dish towel,
gently pat it, flip it over, and pat it again.  If it's too wet, it'll be slippery
and won't stick to itself once it's filled.

Make a small pile near the edge of the roll.  My rolls are cone shaped
and open at one end.  For some, it's easier to dump the filling in
the middle and roll it burrito-style, with both ends closed.

Roll it firmly, but gently, around itself to make a cone.  Make
sure it's tight enough that the filing doesn't just fall out.  This
takes some practice.

It should look something like this. 

We served them with tamari and a yummy sesame/almond
dipping sauce, for which the recipe follows.  So good!

For the dipping sauce, I used the sauce from the Karen's Sesame Noodles recipe in Feeding the Whole Family.  It is as follows:

3 Tablespoons tahini
1 Tablespoon almond or chashew butter
1 Teaspoon maple syrup
2 Tablespoons brown rice vinegar
2 Tablespoons tamari or shoyu (or soy sauce if that's what you    have)
1 Teaspoon toasted sesame oil
1 Tablespoon water

Whisk it all together in a bowl until it's creamy.  That's it!


Wednesday, February 2, 2011

Regarding the Imbloc/Candlemas Post

Hello!
After I published my last post, I noticed that the pictures for the St. Brigid's Cross were out of sequence.  I had been having problems with the website.  I have corrected the post, however, and they're now in proper order.  Sorry for any confusion! 

Oh, and that darn Groundhog predicted an early spring today.  Shows what he knows!  Apparently he is oblivious to the eight foot snowbank in the front of my yard!

Tuesday, February 1, 2011

Imbolc and Candlemas

St. Brigid's Cross

As difficult as it is, under these piles of snow, to imagine Spring on its way, that is what this special day is about in many ways.  As with many holidays during the winter season, light and its warm return are the themes here.  It is considered by many to be the first day of Spring.  It is a time in darker days for life to come back from underground into the increasing light and warmth of the sun.  Ewes are getting ready for lambing, snowdrops are blooming, and we are refreshing our dwellings with spring cleaning and organizing.

Imbolc is a pagan tradition to honor the Goddess, Brigid, who is slowly turning the Wheel of the Year back to Spring.  There are many stories of Brigid (or St. Brigid after the Church re-named her), most of them featuring her as a bride to be married to the Sun God. 

Here is a children's story for Imbolc by Starhawk (via PaganDad.com).  It's a sweet little story of kindness and one's own inner light.  In this Christian version, St. Brigid is a girl who becomes nun to be closer to God.  It's pretty short and to the point.  There's a really interesting article here about the overlap of Candlemas, Imbolc, St. Brigid, and Groundhog Day.


St. Brigid crosses (like the one pictured above)are a traditional craft for this holiday.  We made one last night out of straw.  They are symbolic of the turning Wheel of the Year.  Here is a little tutorial on how we made it.


Soak your straw in warm-ish water for about an hour.
This will make it more pliable when you bend it.

Cross a second piece over the middle of the first.

Bend the second piece around in half, enveloping
the first piece of straw.  Then fold the first one in half
as well.

Add a third piece of straw, folded around the second.

Fold the fourth pice around the third.  This is what it should look like
when you have four pieces.  Now you're going to repeat several more times
going around in the same order.

Almost done!  When you've done your last piece and it
looks about the size you want it, tuck the ends of the last
folded piece through the fold of the previous piece so
you won't have any loose ends.

Tie off the ends with string, trim uneven straw ends, and make
a loop for hanging!
 This is a fun little ritual to do with the kids to usher in the spring.  (Found on this site)
Prepare a collection of things to make noise with -- bells, clappers, drums, etc. Make sure each person has one form of noisemaker. You'll also need a candle in the color of your choice (tall enough to stick in the snow), something to light it with (like a lighter or matches), and a bowl.


  1. Go outside, and create a symbol of spring in the snow. You could draw a picture of the sun or some flowers, rabbits, anything that means spring to your family. If you have a lot of space, feel free to make it as big as you like. Another option is to have each person make their own symbol in the snow.
    One family member calls out:
    Old man winter, it's time to go!
    Take with you these piles of snow!
  2. The other family members stomp around the symbol in a circle through the snow, banging their drums, ringing their bells, and chanting:Melt, snow, melt!
    Spring will soon return!
    Light the candle, and place it in the center of the circle. Say:
    A flame, a fire, all the warmth it brings,
    melt the snow, cold be gone, welcome back the spring!
    The rest of the family stomps through the snow once more, in a circle, making lots of noise and chanting:
    Melt, snow, melt!
    Spring will soon return!
  3. Leave the candle to burn out on its own. Fill your bowl with snow and take it back inside with you. Place it in the center of your table and eat your meal. By the time you're done, the snow should be close to melted (if you have to, put it near the stove to hurry things along).
    Hold up the bowl, and say:
    The snow has melted! Spring will return!
This is a good framework for an Imbolc celebration.  It would be very easy to customize the chants to your liking, perhaps making them a little more lyrical.

With light comes shadow (just ask that groundhog) so now would also be a great time for shadow puppetry!  This can be as simple and a flashlight or lighted candle as a light source and hands making the shapes on a wall or suspended sheet.  You could also use shadow puppets and put on a play of your favorite story.  Here are some instructions for making your own shadow puppet theater!

Candlemas, the Christian based holiday, is traditionally the day that all the candles in the church are blessed for the year.  Candle making is an obvious craft of choice here.  We rolled our own beeswax candles with colored beeswax sheets.  This is a good alternative to dipping candles when you're working with very young children.  And it's so easy most can do it almost on their own.

All you need are some beeswax sheets and the proper wick.
We got our kit from A Toy Garden.  Their link is in the resource list
at the bottom of the blog.


Cut your wick so it hangs over each end about 1/2".  Then press
it near the edge of the sheet.  Room temperature wax works best.
Our house was a little chilly, so we placed the sheet on the
radiator cover for a minute or so to make sure it
wouldn't crack when we rolled it.


Roll it.
Roll it some more.  When it's all rolled up, gently press down the
outer edge into the body of the candle to keep it from unrolling.

Gently press the top of the candle around the wick to ensure
even burning.  Trim excess wick at the other end.

Voila!  A Candle!

 Happy Imbolc/Candlemas/St. Brigid's Day/Groundhog Day !  (Phew!)  Spring is on the way!